Getting started on OpenStreetMap.org
Reviewed 2015-07-12
In this section we will learn step by step how to navigate the OpenStreetMap website, view maps, and sign up for a user account. After you have your own username and password, you will be able to contribute your first points to the map.

Visit the OpenStreetMap Website
Navigate the Map
-
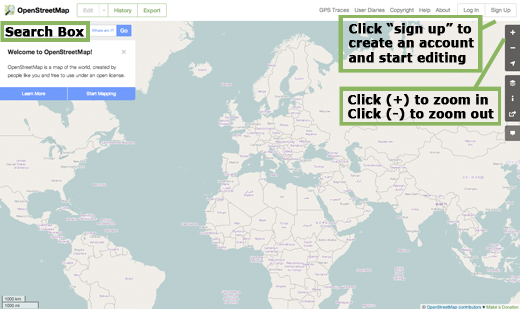
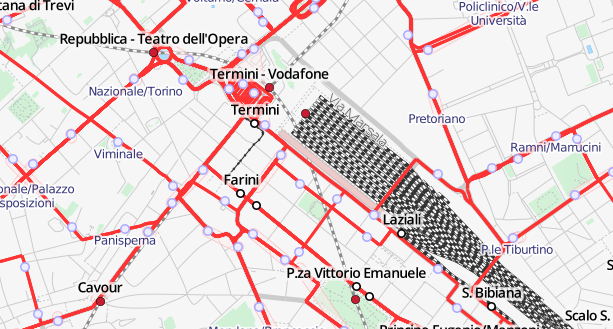
The main thing you should see is the map. Move the map by clicking on it with your left mouse button, holding the button down, and dragging your mouse around (see figure below).
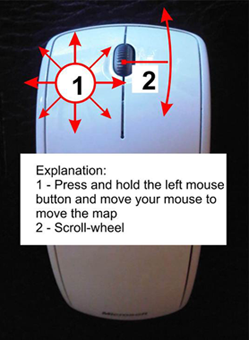
- If you have a mouse with a scroll-wheel, zoom in and out on the map by turning the wheel. If you don’t have a scroll-wheel, use the + and – buttons on the upper right corner of the map. (see figure below)
-
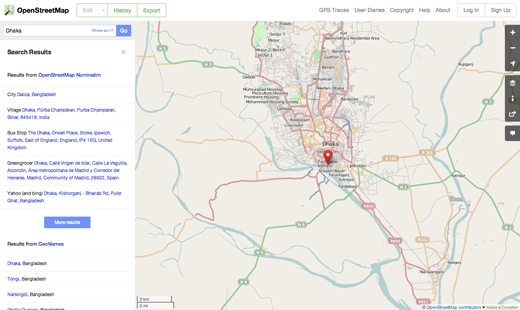
To search for a place, left-click in the box labelled “Search” on the left side of the page (see figure above). Type in the name of your town or village and press Enter. A window should appear to the left of the map with the results of your search. Click on the location that looks like the one you want. The map will automatically move to the location you chose.
View Different Map Styles
OpenStreetMap contains geographic data from all over the world. Although it is a single database, the data can be interpreted and styled in different ways. To see this in action, let’s look at various map “styles” available on the OSM website.
-
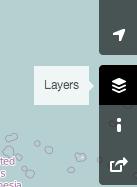
Click on the Layers button on the right side of the map window.
-
Click on the different style options for the map. Notice how the map changes with each one. The transport map, for example, emphasizes transportation routes on the map while the cycle map emphasizes cycling routes. All of the data to make this possible is contained in the OSM database.
Create an OpenStreetMap Account
- Now that you have seen what the main website looks like, you can register for a username and password and make your first additions to the map.
- On the OpenStreetMap website, click “sign up” in the top right corner of the page.
-
You should see a new page that looks like this:
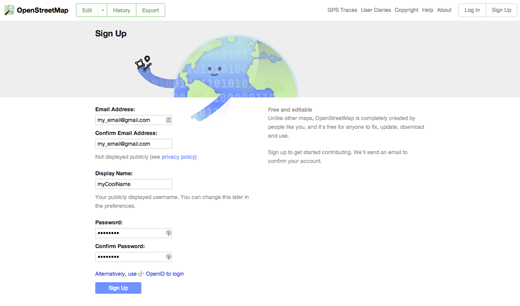
- There are five boxes on this page that you need to fill in to register an account with OSM.
- Enter your email address in the first two boxes. You should enter the same email address in both boxes. Later, you will need to open your email to confirm your account with OpenStreetMap.
- In the third box, enter the username that you would like to have. You will not be able to choose a username that someone else has chosen before, so it should be creative. If you try to enter something simple, like your first name, it is likely that someone has already claimed that name.
- Enter a new password in the fourth and fifth boxes. You should enter the same password in both boxes. You should not use an important one such as the password for your email.
- You may want to write down your OSM username and password. You will need it to log in later.
- After you have completed all the boxes, click “Sign Up” at the bottom of the page.
- If there are any problems, an error message may pop up. Check to make sure that your email is the same in the first two boxes, and your password is the same in the bottom two boxes. If the third box is highlighted red, it means that someone else has already chosen your username, and you must try a different name.
- Have a look at your email.
-
If everything was successful with your registration, you should see an email from OpenStreetMap in your inbox. Open the email. It should look like the image below. Click on the link that is identified below:
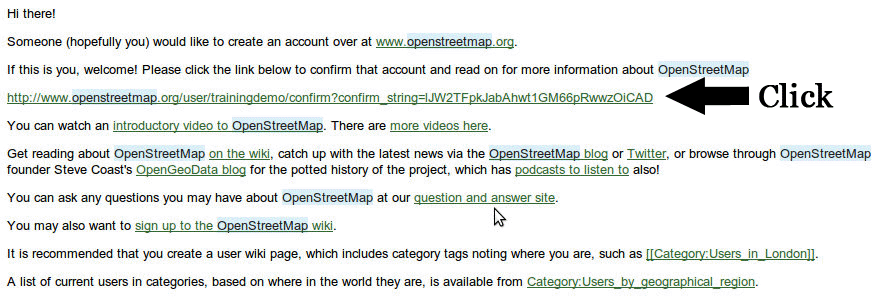
- A new tab or window will open. If everything went well, you should have an OSM account!
- On the OpenStreetMap page, click “log in” in the top right corner. Enter your OpenStreetMap username and password and press Enter. You should now be logged in. You should see your username in the upper right corner of the page.
Adding Your First Points
- Now that you are logged in with your username on the OpenStreetMap website, you can use the iD editor to add your first point to the map.
- Move the map to a place that you know very well, such as your town or neighborhood. A good idea is to ensure your home (or your neighbour’s home) and workplace are drawn and given the correct address.
- Zoom in to a place where you would like to add a point to the map (perhaps a restaurant or grocery store near you isn’t yet mapped).
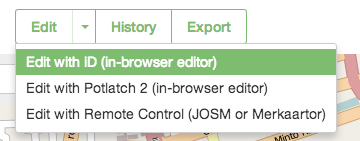
- Just above the map on the left, there is a tab named “Edit” with a small triangle besides it. Click the small triangle. You should see a menu drop down.
-
Click “Edit with iD (in-browser editor)”.
-
The online editor, named iD, should open. It will look something like this.
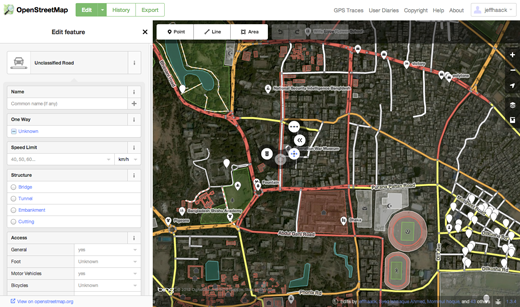
-
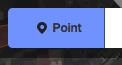
You can add a point to the map by clicking on the button named “Point” at the top the window. Then click on the map where you would like to add a new point.
- Select from the menu on the left what type of location it is that you are adding to the map. You can then fill in the appropriate form with the location’s name and other information.
-
To save your changes, click the “Save” button at the top. Since this is your first edit, you may prefer to play around with the editor. Don’t save your changes unless you are sure they are correct.
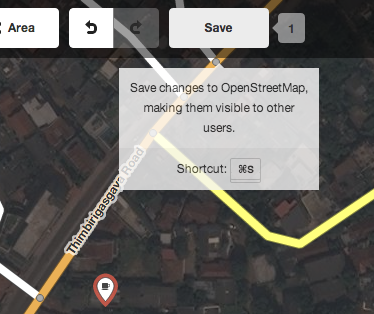
- If you do click Save, you will be asked to provide a description of your changes. Then you can click “Save” once more, and your additions will be saved to the OSM database!
The iD editor is a fantastic way to easily edit OpenStreetMap, and you can find out more about using it in the iD editor guide. You can also play the walkthrough which is a great and interactive manner to discover the editor.
However, in the JOSM section we will be looking at a standalone application that offers many more features. Feel free to continue playing with iD. Once you have more experience contributing to OSM, you can choose which editor - iD or JOSM - you like using the best.
Summary
Congratulations! If all went well you now have an OpenStreetMap username and password, you know how to navigate the OSM website, and you have your first understanding of how to add points to the map.