|
|
Surveying with Field Papers
In this chapter we will see how we can record the coordinates of places without a GPS. We will use a tool called Field Papers, which allows you to print a map of an area, draw on it and add notes, and load the paper back into JOSM, where you can add your locations to OpenStreetMap. You can also watch this 8-minute Tutorial Field Papers video on how to create an atlas and upload a snapshot. Overview of Field PapersBefore we go into detail about Field Papers, let’s look at an overview of how the process works:
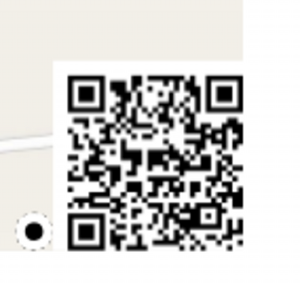
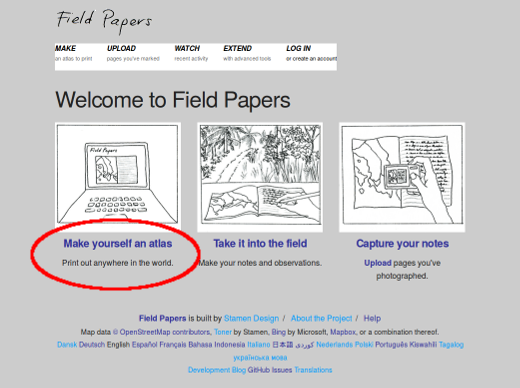
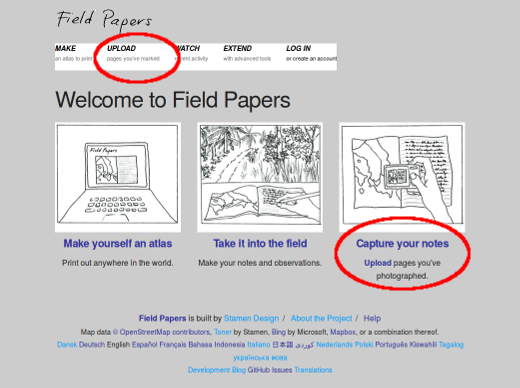
How does Field Papers work?If you follow the Field Papers process described above, you will be collecting accurate geographic coordinates of places with nothing more than paper. How is this possible? When you print a Field Paper, the paper comes with a square barcode on the bottom of the page. This bar code allows Field Papers to determine the exact location of the map that you are using to survey. Later, when you load the paper back into JOSM, all the objects that you drew will be shown in their actual locations. It’s like using a GPS to collect precise coordinates, except all you need is paper! Now let’s learn how to create and use Field Papers. Create and PrintOpen your web browser. In the address bar at the top of the window, enter the following text and press Enter: fieldpapers.org The website should look something like this:
Click Make yourself an Atlas to select the area you want to print out.
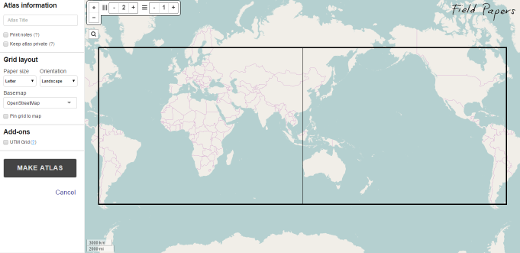
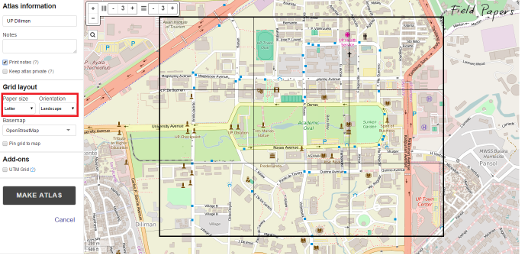
You will be directed to this page:
Zoom in to the area that you would like to print on paper. You can move the map the same way you move the map on the OpenStreetMap website, using your left mouse button to drag the map, and your scroll wheel to zoom in and out. Left-clicking on the (+) and (–) buttons in the upper left corner will also zoom in and out.
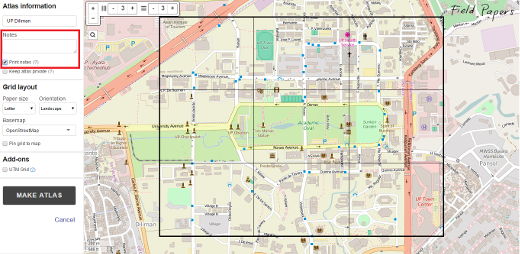
Provide a name for the paper. If you like, you can add text which will appear on each paper that is printed.
The next option lets you select a map layout. If you check the box beside “Print notes”, your map will be printed on the top half a page with notes displayed on the bottom half. Otherwise, maps will be displayed on a full page.
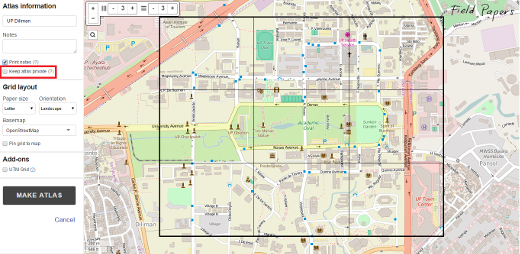
The next checkbox allows you to keep your atlases private. By keeping your atlases private, it can only be accessed once you’re logged in, or via a link provided to you in the final step.
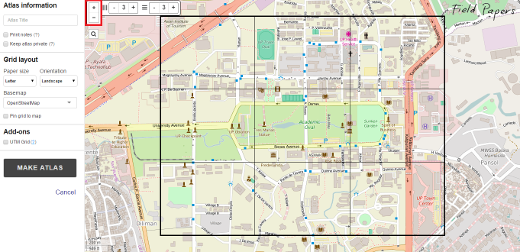
Just beside the map are some additional options. The first two options let you select the size and orientation of the paper you want to use for printing the Field Paper. You may choose either portrait or landscape.
The next option lets you select the kind of style you want to use for your Field Paper. Here you can select from different options that will change how the map looks. For now, we will keep OpenStreetMap.
You want to make sure that the window shows the area that you want to map. You can use the controls in the map window to resize the pages of your Field Paper, or to more or fewer pages. Be sure that you papers cover a reasonably small area, or they won’t be of much use when you are walking around. If you make mistakes the first time, don’t worry, you can create as many papers as you need.
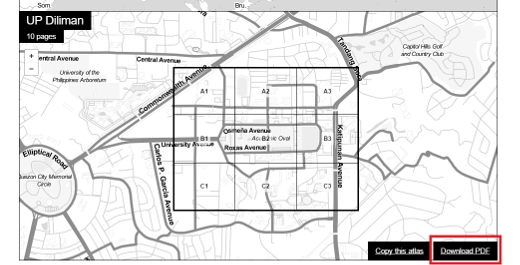
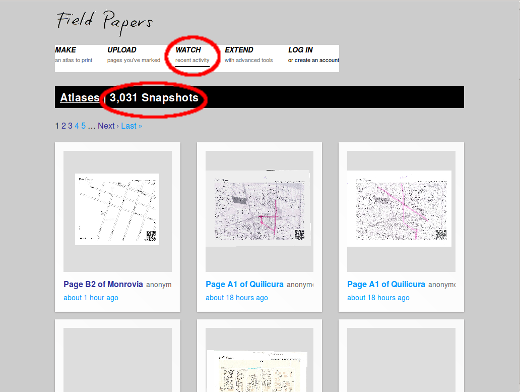
You will see that your new print is being processed. When it is finished, you will see your Field Paper on this page. It usually only take a few minutes for a print to be ready, depending on how many pages you are creating.
When your print is ready, click “Download map PDF for print”. The Field Paper should begin downloading.
When the download is finished, open the PDF file. Connect your computer to a printer and print the page. If everything goes well, you should now have your map printed on paper. Map with Field Papers
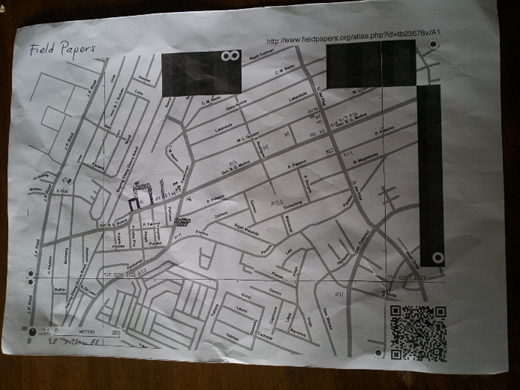
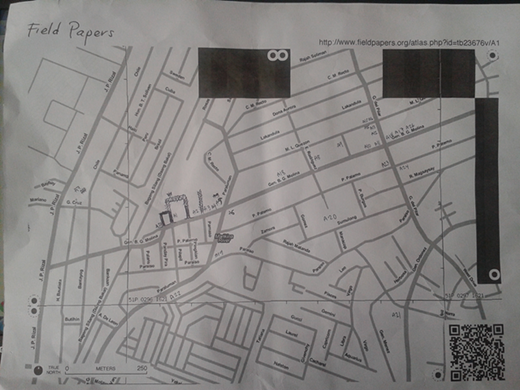
Scan and UploadField Papers are very useful for mapping with nothing more than paper, but they are not 100% magic. We will still need to add our paper into JOSM, add our information digitally, and save our changes on OpenStreetMap. The first step is to scan your Field Papers into your computer. You can do this by attaching a scanner to your computer, scanning the paper, and saving it as an image file. If you don’t have a scanner, you can take a photograph of the paper, but you should be careful to take a very good photo. Make sure that the paper is flat and your camera is directly in front of it. Be sure to include the barcode in the image, as Field Papers will not work without it. Here is an example of a scanned/photographed image:
Once you have your Field Paper scanned and saved on the computer, open your web browser and return to fieldpapers.org, just as before.
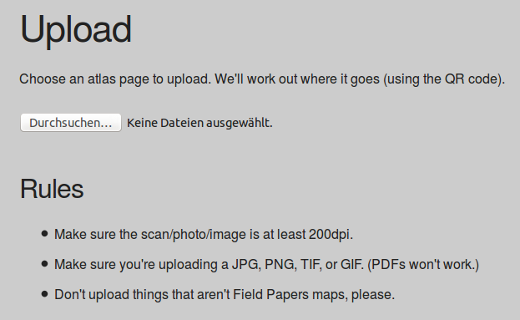
Click “Choose File” and navigate to the file where you scanned/photographed your Field Papers.
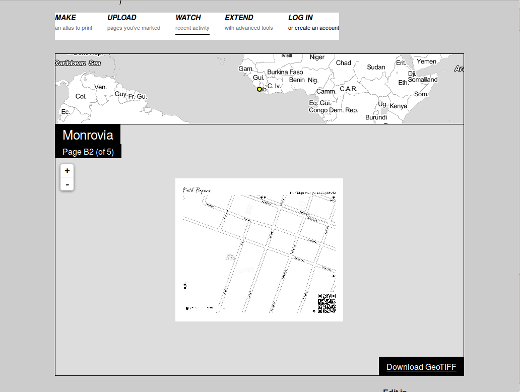
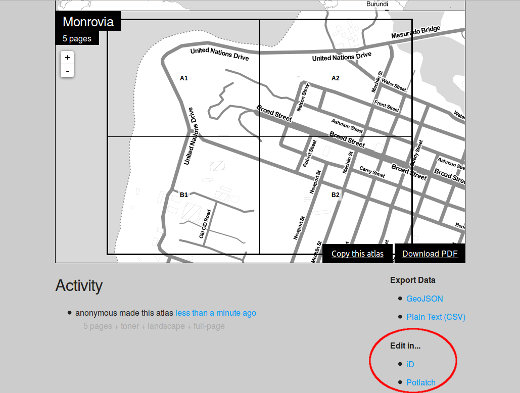
It may take a few minutes for your paper to upload, depending on the speed of your internet connection. When the upload finishes, you will see something like this:
If you are not going to work with these data in JOSM right now then it is a good idea to bookmark this snapshot page. Add the Field Papers PluginBefore we can open the Field Paper in JOSM, we need to install the JOSM Field Papers plugin.
Open in JOSMNow can load your Field Paper into JOSM and use it to add the information you collected to OpenStreetMap. Unless you still have the web page with your snapshots open or stored a bookmark to it, return to the Field Papers website, by typing fieldpapers.org in your web browser, just as before.
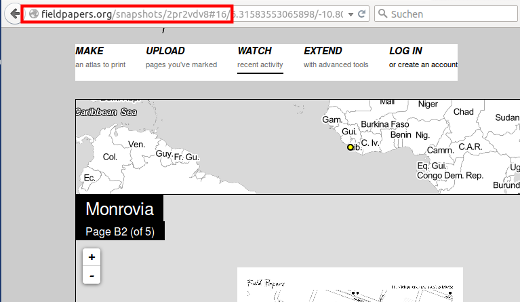
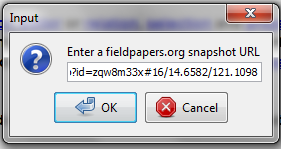
To load the paper into JOSM, we need to copy the snapshot ID of the Field Papers you have scanned. In the URL bar at the top of your internet browser, select the text and press CTRL+C on your keyboard to copy. The text should look similar to this: http://fieldpapers.org/snapshot.php?id=zqw8m33x#16/14.6582/121.1098
On the top menu of JOSM, Click “Field Papers”. Then click “Scanned Map…”
Press CTRL+V on your keyboard to paste the text that you copied from the Field Papers website.
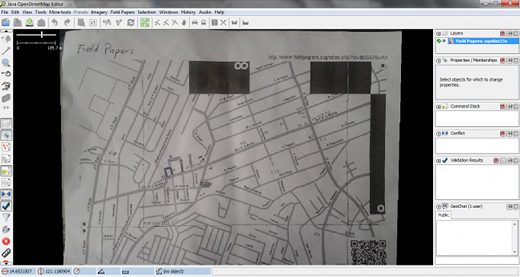
Click OK. If all went well, you should see your Field Paper load into JOSM. In order to learn how to add the places that you mapped into OpenStreetMap please refer to the JOSM editing process and editing field data.
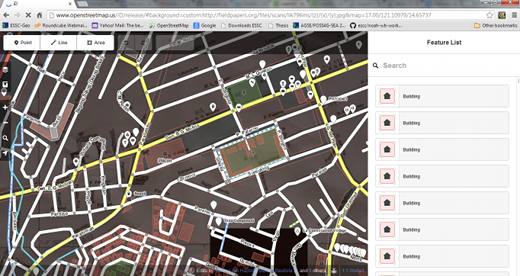
You can also use your scanned Field Papers in other OSM online editors such as iD or Potlatch2 by clicking the “Edit in iD” or “Edit in Potlatch” links in the scanned Field Papers page.
Repeat!After you add your changes to OSM, they will be saved on the map. Then the next time you want to improve the map, you can print out a new Field Papers which will include the changes that you made. As this process is repeated, the map will get better and better, the more you map! SummaryCongratulations! In this chapter you learned the process of using Field Papers and how they work. You learned how to print, map, and scan a Field Paper, and how you can use them to improve OpenStreetMap.
Was this chapter helpful?
Let us know and help us improve the guides!
|