|
|
Relations
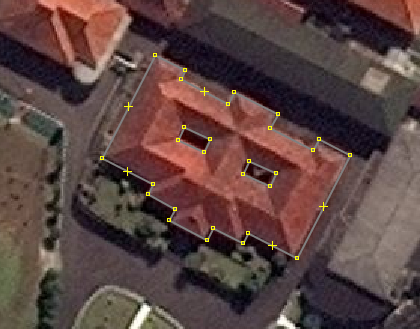
In the Beginner’s Guide we explained that there are three types of objects that can be drawn in OpenStreetMap - points (nodes), lines (ways), and polygons (closed ways). Lines contain numerous points, and the line itself carries the attributes that define what it represents. Polygons are the same as lines, except that the line must finish where it begins in order to form a shape. In fact, we lied to you, because there is one other type of object in OpenStreetMap, called relations. In the same way that a line consists of other points, a relation contains a group of other objects, be they points, lines, or polygons. If you are looking to advance your editing skills, then understanding and knowing how to properly edit relations is important. For example, imagine that you want to map a building that has courtyards in the center. You would need to draw a polygon around the outside of the building, and you would want other polygons around the courtyards to indicate that they are not part of the building. This is an example of a relation. The relation would contain several polygons - and the attributes of the building would be attached to the relation, not the polygons.
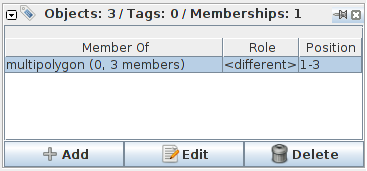
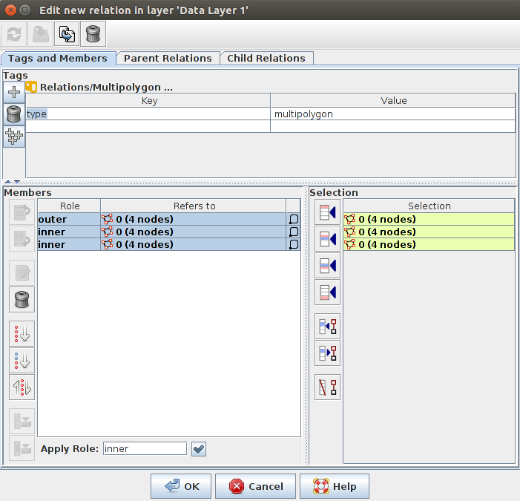
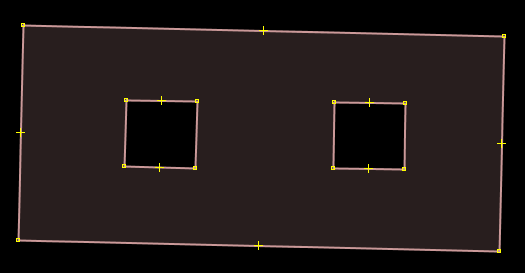
Relations are used to represent anything that requires a collection of objects to define. Other examples are bus routes (a collections of lines), long and complex objects (rivers or roads), or multiple polygons that are all part of one location (like buildings in a university). There are mainly four types of relations you will encounter in OSM: Multipolygons, Routes, Boundaries, and Restrictions (such as, no left turns). In this section we will cover Multipolygons and Routes. Creating Multipolygon RelationsLet’s see how to create a multipolygon relation like the one shown above.
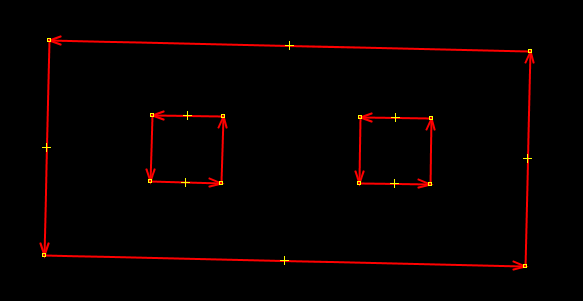
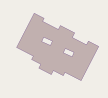
When you create a multipolygon like this it will be rendered on the map like so:
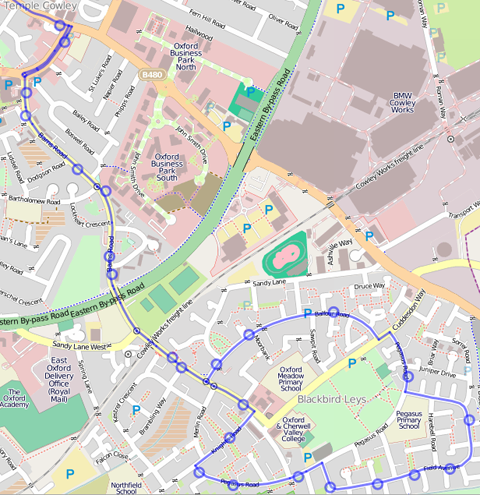
Multipolygons can be used for any complex object that requires inner and outer polygons, like a building or a river with patches of land inside it. Detailed multipolygon information can be found on the OSM Wiki. Route RelationsRelations are also very useful for representing long routes. For example, a bus or bicycle route follows various road segments. To define such a route, we can create a relation which contains all of the road segments that are part of the route. Additional features, such as bus stops can also be members of a route relation.
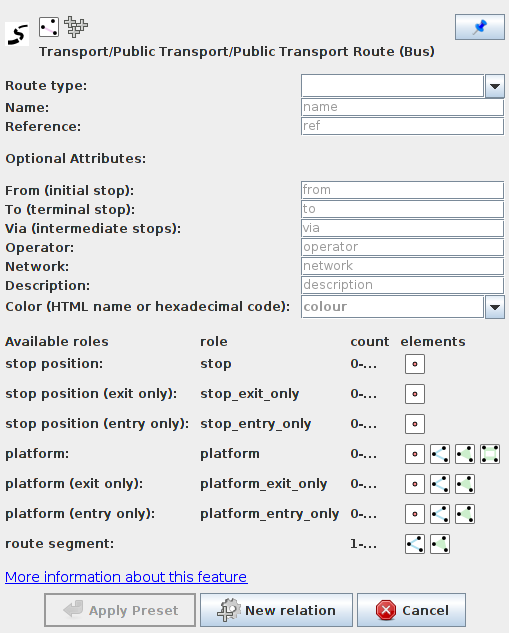
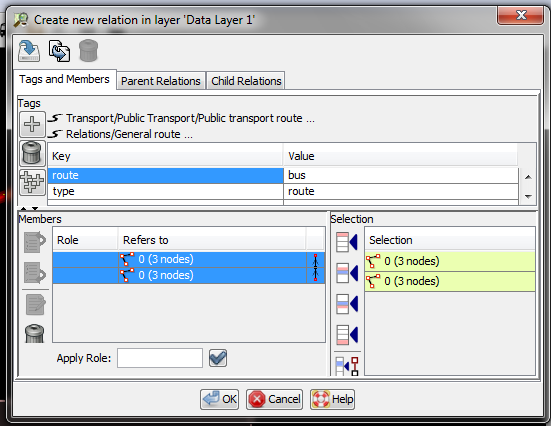
Let’s see how to create a relation for a bus route in JOSM:
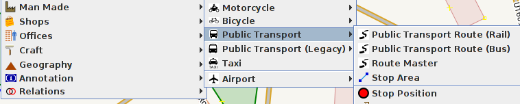
It is important to select the specific route type from the dropdown menu at the top. For bus routes two options are available, bus and trolleybus. Typically you would also enter name, reference number, from and to.
SummaryRelations can be difficult to understand and do not need to be used often, but they are necessary to know about. Every so often you may realize that you need a relation to map something correctly, and you can use this knowledge, and find more information on the OSM Wiki, to help you map relations correctly.
Was this chapter helpful?
Let us know and help us improve the guides!
|

 . This will open a panel where you can select, edit, and create new relations.