|
|
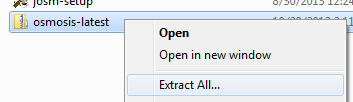
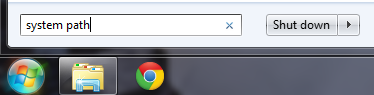
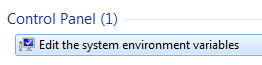
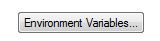
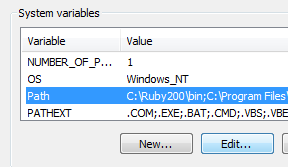
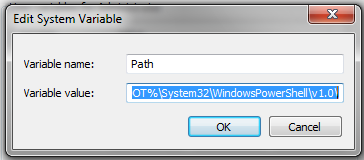
Manipulating Data with OsmosisOsmosis is a powerful command-line tool for manipulating and processing raw .osm data. It is often used for processing large data files, for splitting OSM files into smaller pieces, and for applying a changeset to update an existing file. There are a great many functions available with Osmosis, and you can read about each in detail on the Wiki. However many of the functions are quite complex and difficult to understand, particularly if you are just getting started with command-line programs and OpenStreetMap. This chapter will serve to introduce Osmosis, install it on Windows, and get started with a basic Osmosis command. Install OsmosisLike osm2pgsql in the previous chapter, we will need to download and set up osmosis so that we can run it from the command line. The process for this will be very similar to osm2pgsql. You will also need some raw OSM data to work with. If you want to follow the examples in this chapter, download our sample file here. You may also use a raw data file of your choosing. Follow these steps to download and prepare Osmosis:
Filtering DataOsmosis should be working correctly from the command line now. In order to work run operations on our data file, we need to change the working directory to the place that we’ve put the sample_osmosis.osm.pbf file. To make things simple, we have placed this file in the C:\ directory.
Now let’s learn our first Osmosis command. We will run a command that filters all of the schools from our large file. In order to do this, we need to tell Osmosis a few things. We need to specify:
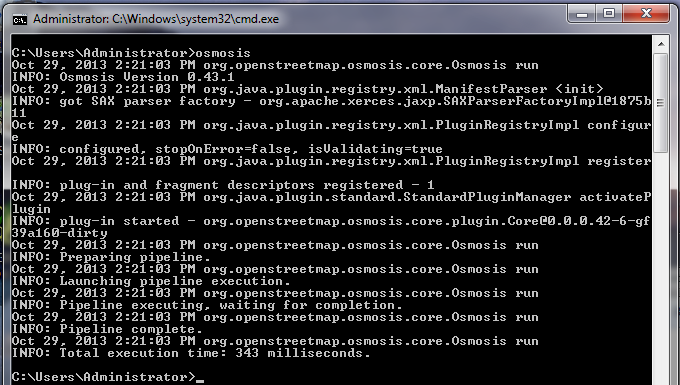
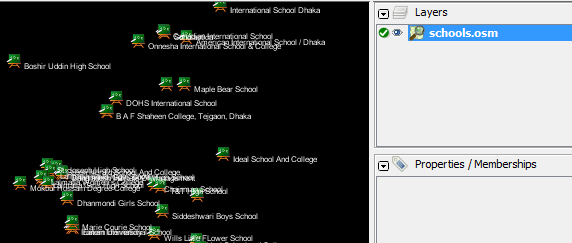
The command we will run is: Try running this command in the command prompt. When it finishes, you should see a new file in your directory, called schools.osm. If we open the new file in JOSM, we can see that only the schools have been filtered out from the sample file.
Let’s take a look at the command we ran piece by piece to understand how it all works. First, we call the name of the program. Next, we supply the input file. Remember that this file is a compressed format. –rbf is actually shorthand for –read-pbf-fast. Osmosis understands that the file we supply after this flag is the file we want to read from. The next bit of our command says –nkv keyValueList=”amenity.school”. You might guess that this indicates that osmosis should filter out everything with the tag amenity=school. –nkv is shorthand for –node-key-value. This command indicates that Osmosis should filter out only nodes with the keys and values supplied in the following list. Additionaly key.value sets can be added by placing commas in between them. Lastly, we supply the name and format of the output file. We use the flag -wx, which is shorthand for –write-xml. Note that we could also use –wb, which is the counterpart to –rbf, if we wanted to output the data again in PBF format. Moving ForwardThe number of processing tasks that can be done with Osmosis is enormous, and to learn more it is best to refer to the Osmosis Detailed Usage page on the Wiki. One useful task is being able to divide a big raw OSM file into separate parts, either by supplying rectangles or by creating bounding polygon files. You can get a basic grounding in this process at the Osmosis Examples page.
Was this chapter helpful?
Let us know and help us improve the guides!
|