|
|
PostgreSQL & PostGIS
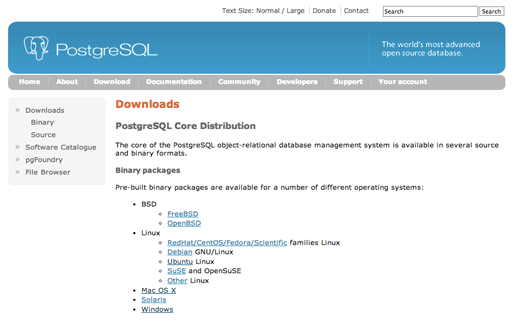
In this chapter we will see how to set up PostgreSQL on Windows and how to create a database in which you can store geographic data. We’ll be using the open source GIS software QGIS in this chapter, so it will be helpful if you are already familiar with it. In the following chapter, we will see how to import OpenStreetMap data into a PostgreSQL database. Installing PostgreSQL and PostGISIn this section we will install PostgreSQL and then add the PostGIS spatial extensions. This is fairly easy to setup using the One-Click Installer. Navigate your web browser to the PostgreSQL website and the download page http://www.postgresql.org/download/
From here you can find installation instructions for different operating systems. Click on the “Windows” link.
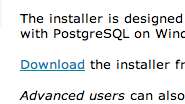
Click on Download.
You will see several different Installer options for different versions of the PostgreSQL software. Download the most recent version. As of this writing it is version 9.3.1. Click on the button that says Win x86-32. This is the installer for the 32-bit version of Windows.
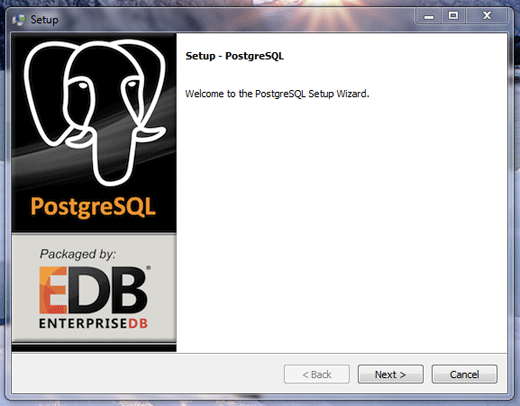
When it has finished downloading, run the One-Click Installer.
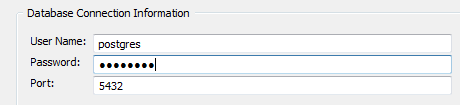
Click “Next” to navigate through the installation wizard. The default options should be fine. You will need to provide a password for the first database user (the user is postgres). This user has superuser privileges, meaning that they can do whatever they want, so don’t forget the password that you use!
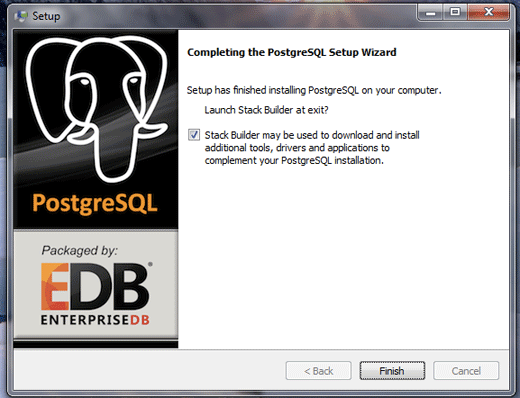
After you have clicked through the wizard and accepted the default configuration options, the wizard will install everything for you. It may take a few minutes. When the installation is complete, the wizard will ask you if you want to launch StackBuilder, which is the utility that will allow us to install PostGIS. Make sure the box is checked before you click “Finish.”
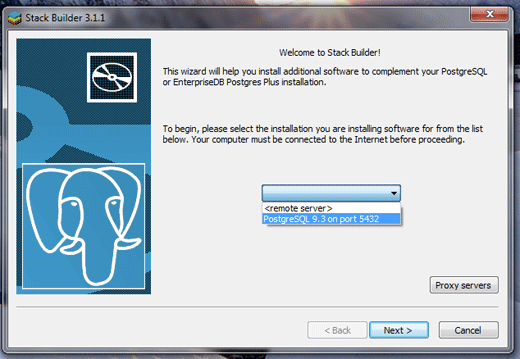
Now we’ve successfully installed PostgreSQL and we need to add the PostGIS extensions. When the StackBuilder wizard opens, select your PostgresSQL installation from the dropdown menu and click Next. It will look something like this:
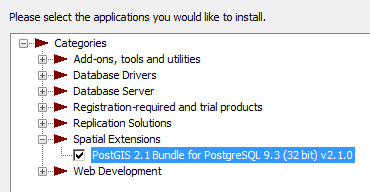
Open the “Spatial Extensions” tab and check the box next to PostGIS. As of this writing the most recent version of PostGIS is 2.1.
Click Next to download the extensions and install. When prompted, click “I Agree” to accept the terms and conditions. The PostGIS installer will ask more questions, but generally the default options are fine. You can tell it to create the first database automatically, but we will learn how to do that ourselves next. To begin the PostGIS installation you will need to supply the postgres password that you created when you installed PostgreSQL.
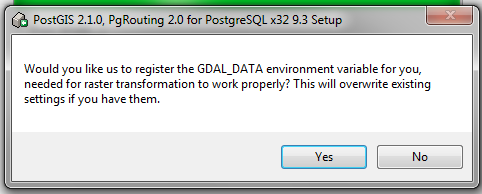
If you are asked to register the GDAL_DATA environment variable, click “Yes.”
When the installation is completed, click “Close” and then “Finish.” Creating a DatabaseNow that we have installed all of the necessary software, we will create a database. We will use pgAdmin III, which is a graphical database client that is useful for querying and modifying databases.
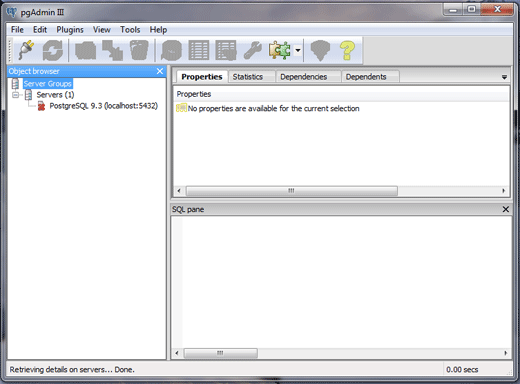
PgAdmin III is the official client for PostgreSQL and lets you use the SQL language to manipulate your data tables. It is also possible to create and manipulate databases from the command-line, but for now, pgAdmin III is an easy way to get started. Open pgAdmin III. It should be in the Start Menu under All Programs -> PostgreSQL 9.3 > pgAdmin III.
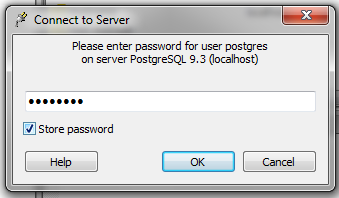
In the panel on the left under Servers, right-click where it says PostgreSQL and click “Connect.”
Enter the postgres user password that you created when you installed the software. Remember that the username and password are required so that you can create and access a database.
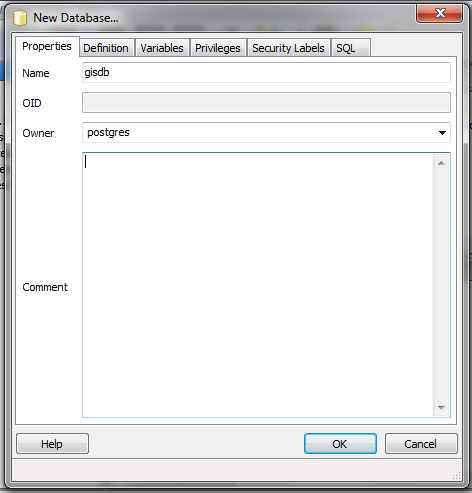
Right-click on Databases and select New Database…
You need to enter a few pieces of information to create the new database: name and owner. In the Properties tab, give the new database a name. In this example, we name our database gisdb. We should also give our database an owner. Since we only have one user right now, let’s give our database the owner postgres. (Note: for security reasons it is usually a good idea to create users without superuser permission, but for now we won’t worry about this.)
Click OK to create the database. You will now see your database listed under “Databases.” We need to run a command now to enable the database with PostGIS extensions. Click on In the query window, type: CREATE EXTENSION postgis; Then click the “Execute query” button.
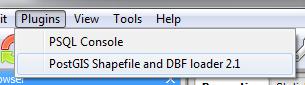
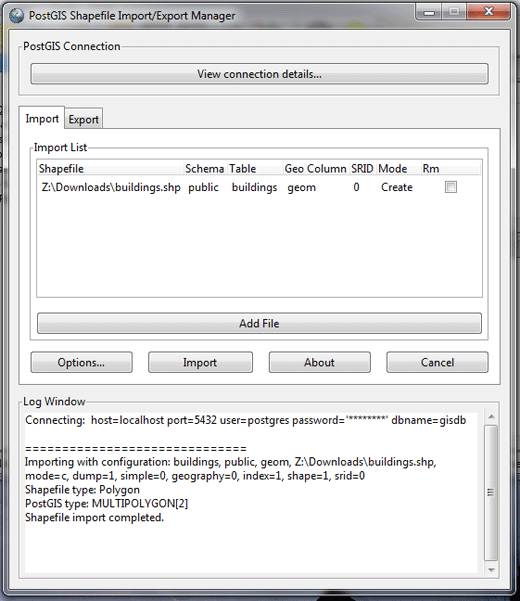
Load Sample Data (optional)If you are comfortable so far and are familiar with QGIS, follow along as we load some data into our new database. To do this, we will use a utility that converts shapefiles and loads them into the database. Make sure that your new database is selected in the panel on the left and go to Plugins -> PostGIS Shapefile and DBF loader 2.1.
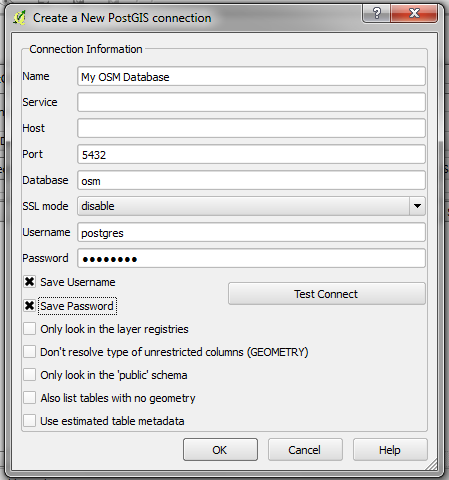
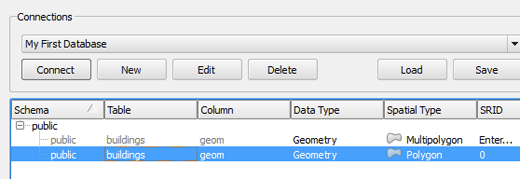
Now let’s load the data from our database into the QGIS application. If you don’t have QGIS you can download it on the QGIS website.
When you add the layer you will need to select a coordinate system to display the data in. You will most likely want to select WGS 84, which is the coordinate system OpenStreetMap uses.
SummaryNow that you have seen how to set up PostgreSQL and PostGIS, as well as how to create a new database, you’re ready to try the utilities which allow us to import raw OSM data into a database. We’ll take a look at this in the next chapter.
Was this chapter helpful?
Let us know and help us improve the guides!
|


 at the top of PgAdmin III.
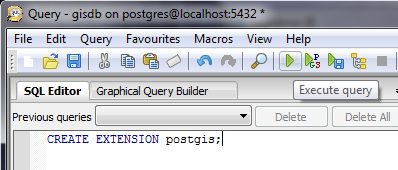
 button.